|
Framing the chicken coop
|
My husband and I love to work on building projects together. We sketch, dream, and passionately debate the benefits or disadvantages of different building materials or design ideas. We love to peruse salvaged building supplies looking for our next treasure. He worked 15 years in the construction industry before becoming an architect student at The University of Utah. Me? I am highly trained at watching television design shows. (I consider it my degree in HGTV.)
We wanted to build our own coop because we like the creative energy of building things and a smaller project like a chicken coop allows us to try out a few new design ideas. Like most projects, Nick and I first determined what our design parameters were. For this project, we had three main goals:
- The coop had to be comfortable for our chickens;
- The coop needed to be easy to clean; and,
- The coop had to fit our design aesthetic.
Today's blog is about goal #1. How to make a coop that's comfortable for our chickens.
Flooring
The day we received our newborn chicks, the little birds were scratching and pecking at the brooder box. They are now pullets, and they enjoy scratching everywhere they go. They dig dirt bath areas, fluff up the pine shavings on the floor before napping, and scratch at the grass and bark for bugs and other food. Scratching and pecking are natural activities for chickens.
For many commercial and even suburban flock owners, the floor of the coop is made of chicken wire. The wire allows the bird droppings to remain off of the floor of the coop. Having a wire floor on the coop can make it easier to clean. However, this wire makes it difficult for the birds to scratch.
Although ease of cleaning is also a design goal, our primary goal was chicken comfort. So, we opted for having a coop floor
without wire. The chicken droppings will land on the pine shaving bedding. This will create cleaning issues that we'll address in the next article. But, we felt that this was a good trade-off in allowing chickens to be chickens. Scratching and pecking are what they do.
Another consideration with flooring was texture. We wanted to be cautious on not having a flooring material that was too slick for young birds. We opted to pour concrete flooring. The texture on the concrete provides enough traction that our birds do not slip.
Nesting boxes
It has been several decades since I have gathered eggs. So, I'm less sure about nesting boxes. What I've read indicates that several birds will use the same box. So, with four hens I would likely need only 1-2 boxes. However, we may wish to expand our little flock to six hens (the maximum allowed in my neighborhood). So, we have three nesting boxes for good measure.
The size of many nesting boxes are 12"x12"x12". However, if you have a smaller breed or larger breed of chicken you may want to adjust the box size. My breeds are somewhat larger, so my boxes are 14" square. I've read that if you make the boxes too large that two chickens may try to lay eggs in the same box at the same time. This could lead to broken eggs.
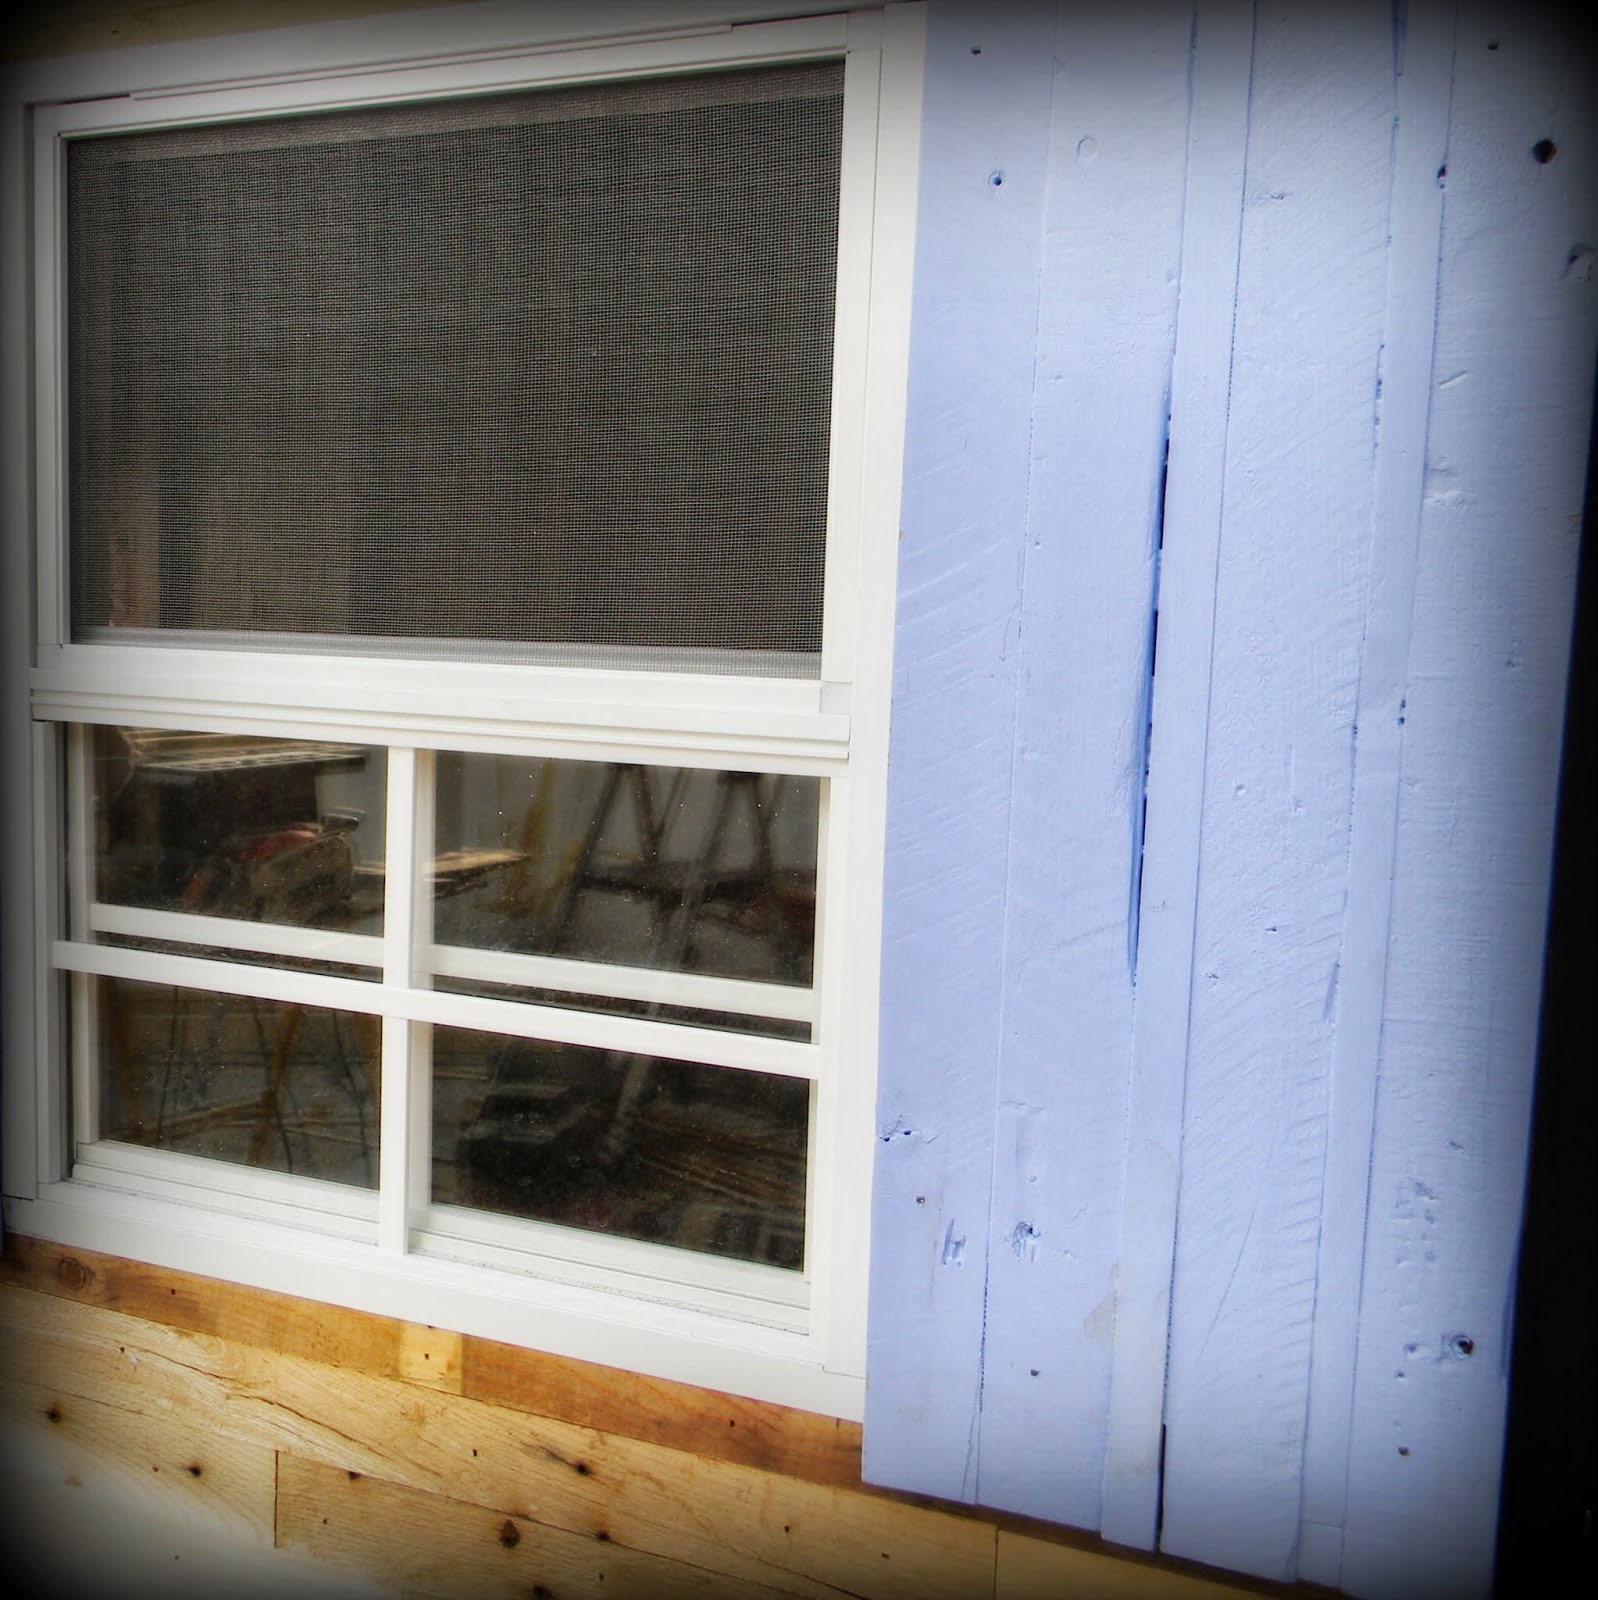
The nesting boxes are painted a darker shade of blue. The boxes are
not across from any windows. The hens prefer to be in a dark, private place to lay their eggs. The boxes will have straw bedding that the birds can use to form into a nest and I will place some sort of wooden egg or golf balls into the nesting area to teach my pullets the purpose of the nests.
I'm concerned that my nesting boxes are too close to the floor for the birds. They will have a four-inch step up to the boxes. I'll let you know if they have any issues with boxes that are this low to the ground.
Roosting Bars
Each hen needs about 18 inches of space where she will roost for the night. The roosting bar needs to be set higher than the nesting boxes (to prevent the boxes from being used for sleeping). The bar also needs to provide about 2 feet of head space. There are some chicken owners who swear by round wooden dowels whereas others are loyal to 2x4 lumber for their bars. I'll be using a branch from a fallen tree for one roosting bar and a 2x4 for the other. I'll be experimenting with two bars at different heights to see what my breeds prefer. The thickness and height of the bars will increase as my pullets age into hens.
Square footage
In 2012 the average US commercial laying hen only had 67 inches (yes inches!) of cage space. (More information on industry practices from NPR.
Click here to read.) Although keeping the chickens in small cages may be a cost-effective approach to getting eggs to the dinner table, we wanted our chickens to have more opportunities to stretch, fly, roost, and nest.
With the cold winters, we knew that our hens would prefer to remain indoors. With too much space, the interior of the coop would have a hard time maintaining heat. However, without enough space, the chickens would get anxious and would be prone to pecking at each other. So, with industry standards being the minimum size, we read books and blogs to determine how large to make our coop.
We then had to balance a few things such as city ordinances (which limited where the coop could be) and the size that would fit into our tiny suburban back yard. Our coop has 27.5 feet of floor space, 5.5 feet of nesting space, and approximately 70 feet of outdoor run space. When our four hens are full grown, this provides them with 990 square inches of floor space per hen and 3,672 square inches of total indoor and outdoor space. This space is enclosed with chicken wire to allow the girls to remain safe while we are at work. We also frequently let them out for free range time where they have access to our entire backyard when they can be supervised.
 |
Close-up of Hens and Chicks and Ice plants on the coop's roof
|
Temperature Control
Even though I picked breeds of chickens that are cold tolerant, only two of my hens are heat tolerant. Utah has extremes in heat, and chickens can go into stress when temperatures are too hot or too cold. So we incorporated three ideas to help with temperature control for our birds.
- Location, location, location. Our hen's coop is located near our home where it receives shade from the north side of the house as well as shelter from the prevailing southern wind. The run is covered, providing shade during the summer months and protection from snow and rain in the winter months.
- Electricity. We have wired the chickens home to have access to electricity. This allows us to have a water heater keeping the chicken's water warm, as well as the ability to set up a heating unit for sudden drops in temperature.
- Insulation. Although many coops are not insulated, I worry about the chickens getting too hot or cold. So, the walls have been insulated with foam. The roof has insulation in the form of a living roof. The roof has six inches of potting soil and is covered in plants. This serves to help prevent the roof from getting too hot in the summer, and also serves to help maintain heat during the winter.
Venting
In a chicken coop, well, poop happens. A lot of it. It emits ammonia into the air which can cause respiratory problems for your chickens. So, having an intake vent on the lower portion of one wall (for me, that is the door to our chicken run) and a vent near the top of the of the ceiling in the opposing wall should create air flow that removes the excess amounts of ammonia from the coop. When placing vents, consider how to promote airflow without making the roosting areas drafty.

 Well, there's a first for everything. I picked up the morning mail to find a letter addressed "To our Grandchickens." Besides a good laugh, what did Grandma Hen send her grandchicks? The latest news in chicken fashions, of course. Alas. We have nudist chickens who take free range to a whole new level!