
I wanted our coop to look like it had been out on the farm for years. So it was time to distress some wood. For those who haven't done it before, it's very easy. The first step is to paint the wood in all of the colors you want to reveal. In this picture, I painted the wood with both a white primer and a blue paint. So, the reveal would have multiple colors.

The next step is to sand. This is where the artistry comes in. How weather worn do you want your project? When I distressed furniture, I tend to be very light on the sanding. I would hand sand areas that would naturally wear over time (such as the lip of a cupboard drawer or the edge of a table top.) I didn't want the furniture to look abused, just worn. But, for an outside coop, I wanted a lot of wear. So, I took out a hand sander to take off a lot of paint.
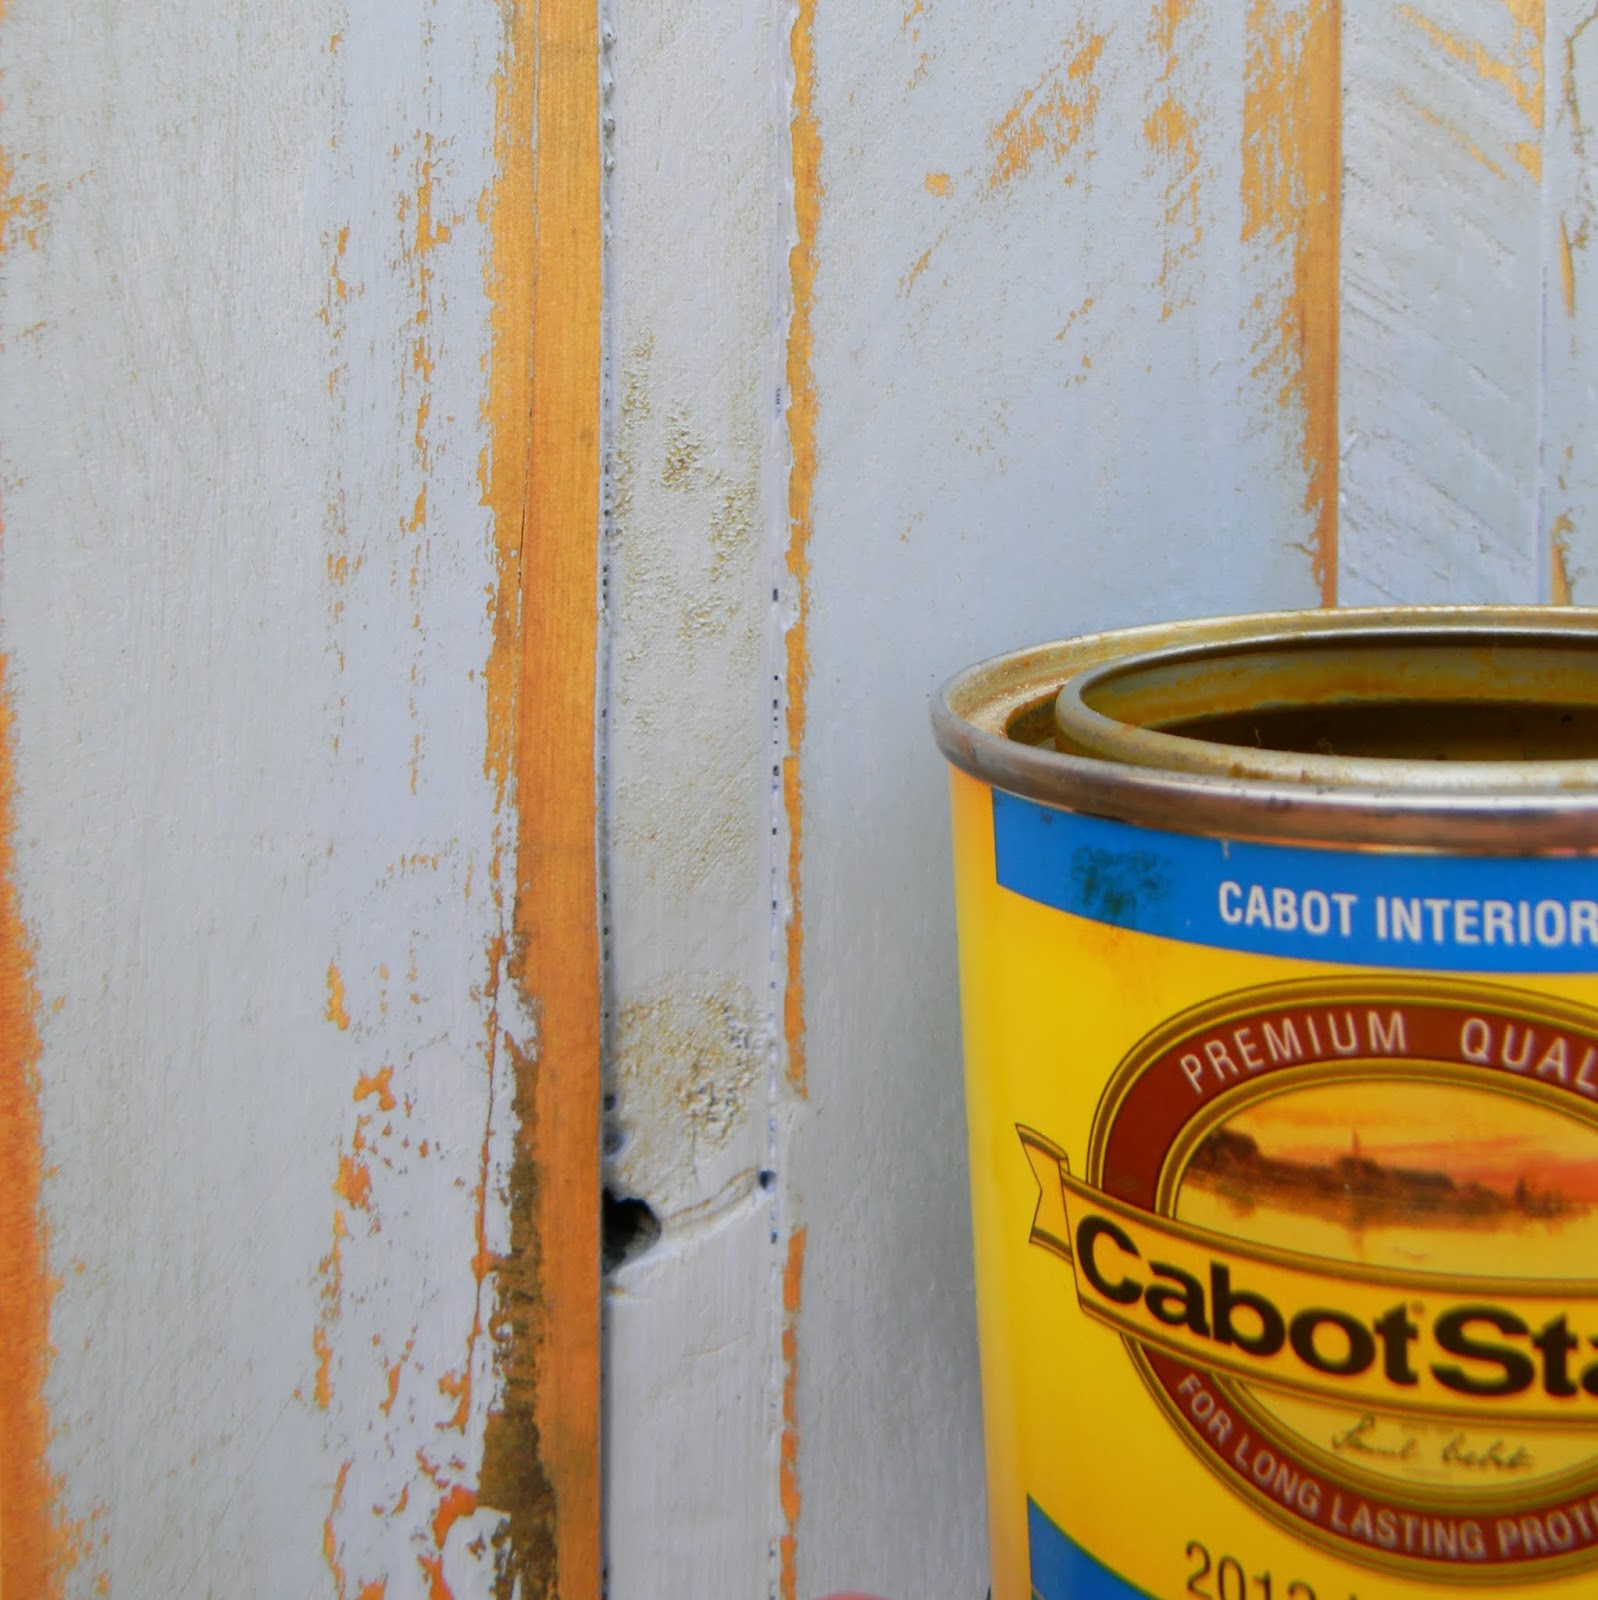
I then add a stain over the sanded area. It seals the final product, and further antiques my paint color. The color is no longer vibrant, but looks like the sun has faded it over the years.

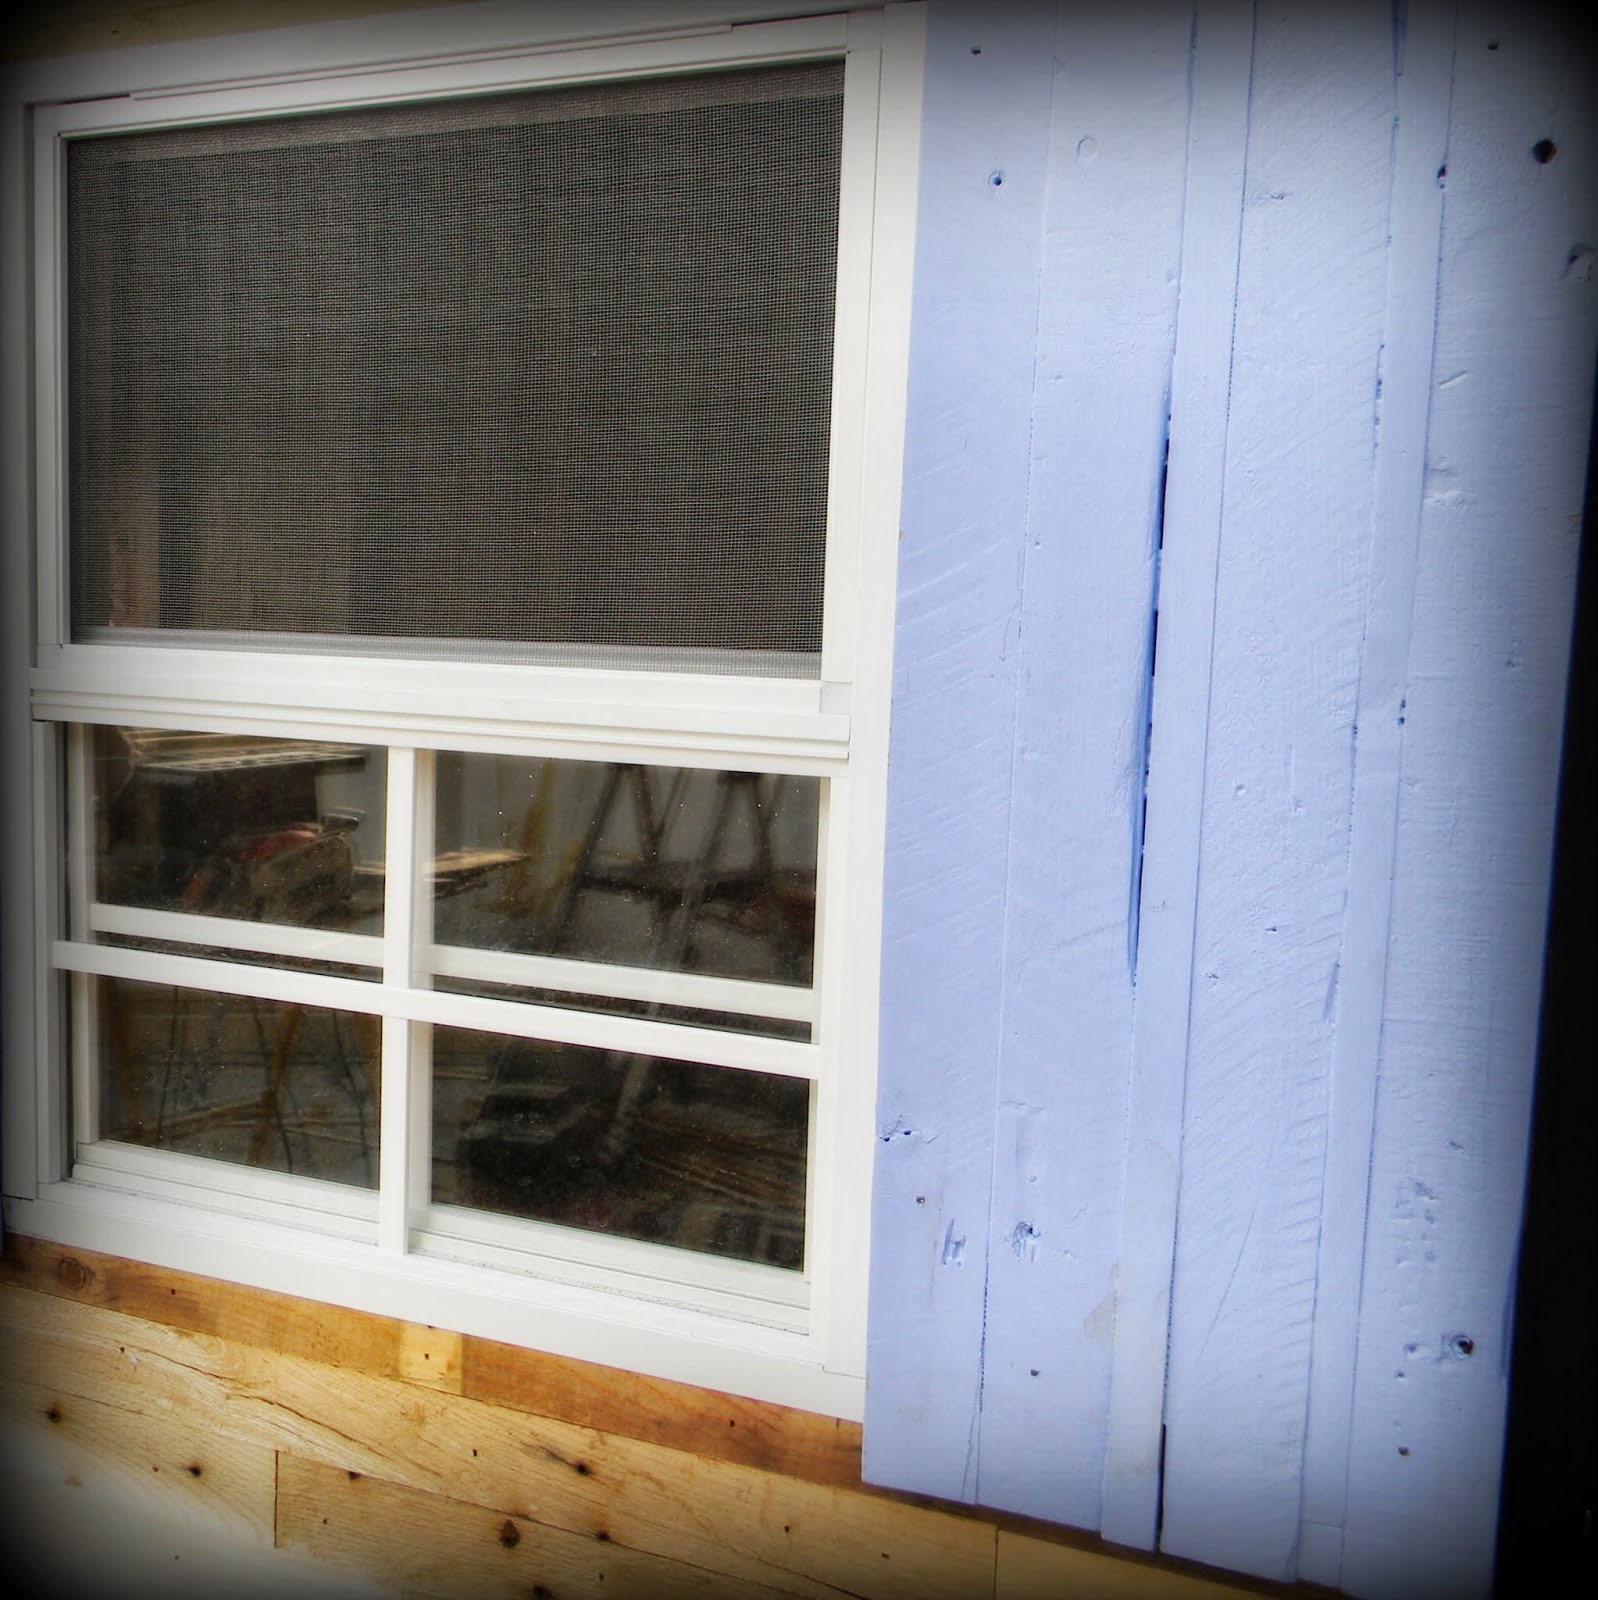
The pups Jake and Sandy decided to check out the finished product and do a little of their own distressing at the same time. Their goal was to distress the new chickens. However, with the safety glass windows, Daisy doesn't seem a bit bothered by the visitors.
No comments:
Post a Comment